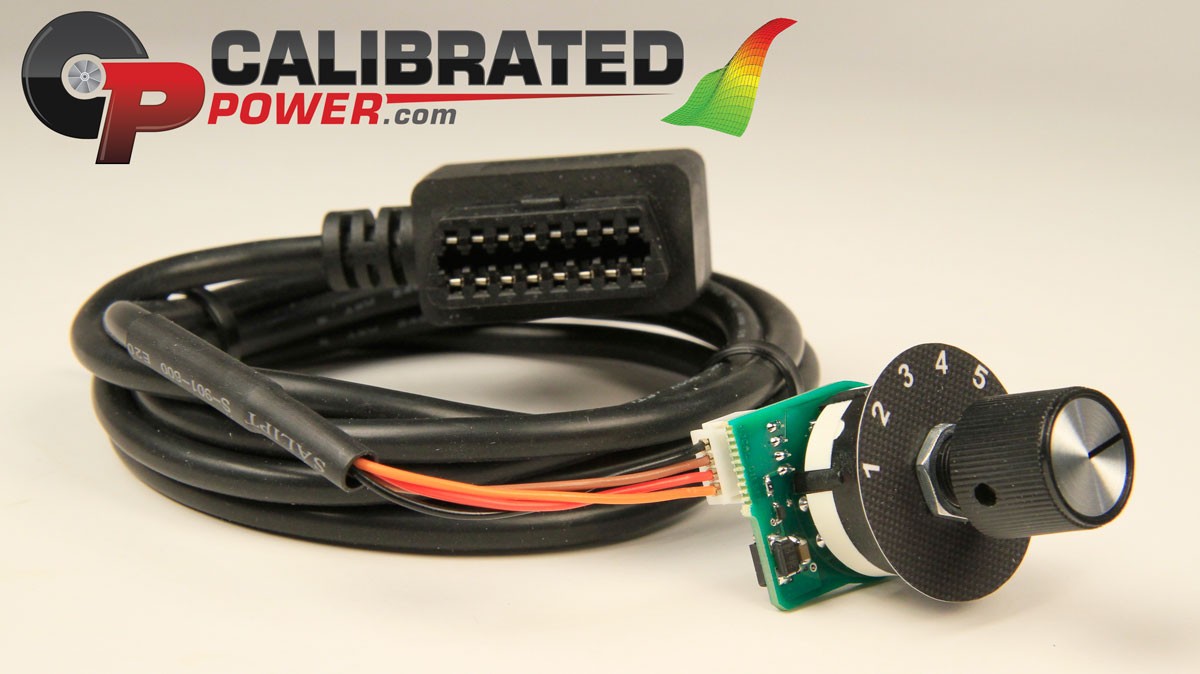
This "How To" article will walk you through installing the EFILive CSP Switch on your 2006 - 2009 Cummins powered Ram 2500 or 3500 pickup truck.
CSP Switching has been around for quite a few years. The programming provided via EFILive allows your engine computer (PCM) store 5 separate tune files and the CSP switch can rotate through them.

2006-2009 Cummins CSP Switch Installation
CSP installation requires a general knowledge of tools, and is a beginner’s level installation. Installation videos can be viewed on our website under the Product Installation section. CSP In order to install your CSP switch you will need the following items: drill, 25/64 drill bit, ½ socket, and a screwdriver.
- Find the spot that you want to mount your switch.
- We suggest the small removable plastic piece located just above your parking break release handle.
- If you need to remove your dashboard, do so by removing the small screw located at the lower lip of your dashboard.
- Reach into the space between the base of your steering column and dashboard.
- Confidently pull your dashboard until it releases from the truck.
- Dry fit the switch to make sure you are drilling in a spot the switch will fit.
- Drill your hole.
- Remove the nut from the switch.
- Be sure the washers don’t fall out. If they do, place the washer with the tab on the bottom with the tab located in between the 5 and 6 location.
- Push the switch post into the drilled hole.
- Place the tune indicator sticker around the switch post.
- Be sure the indicator onto the switch knob matches to the indicator numbers.
- Install the nut back on the switch.
- Place the switch knob on the post and use the Allen key to secure.
- Plug the switch OBD2 cable in place and run it to the switches location.
- Plug the switch into the OBD2 cable.
- With the key in the run position turn the switch and look for a blue indicator light on the back of the switch.
- The amount of flashes represents the tune you are on. Please verify this is correct.
- If the light does not flash, please unplug the switch and repeat steps 12 through 14. If this does not resolve the issue contact us.
- Reinstall the plastic piece or dashboard.
For more instructions and procedures visit our Knowledge Base


